While adapting to teaching online, all of us are looking for ways to make our classes more interactive and engaging for the learners, having to face the challenge of organizing learning through different platforms, tools, technologies, etc.
One of my personal favourite tools for classroom presentation is Microsoft SWAY. You would ask — what is the difference compared to the old favourite PowerPoint Presentation? Here is what:
- It’s easy to design — less mess with picture/text sizes.
- It’s easy to operate — once to get the grip.
- It looks more interactive — has both PC and mobile view options.
- Students can edit it real-time — works like a shared file (word/excel).
Let’s have a look at some basic functionality of how to create SWAY presentations.
- Getting started
Go to https://sway.office.com to access the platform. You will need to Create a New presentation to start from scratch.

As soon as you create a New SWAY, you will see the page below. There are two tabs you’ll be working with — Storyline and Design.
Storyline is the so-called backend of the presentation where all the editing is taking place. You add titles, texts, tasks, pictures, etc. using this tab.

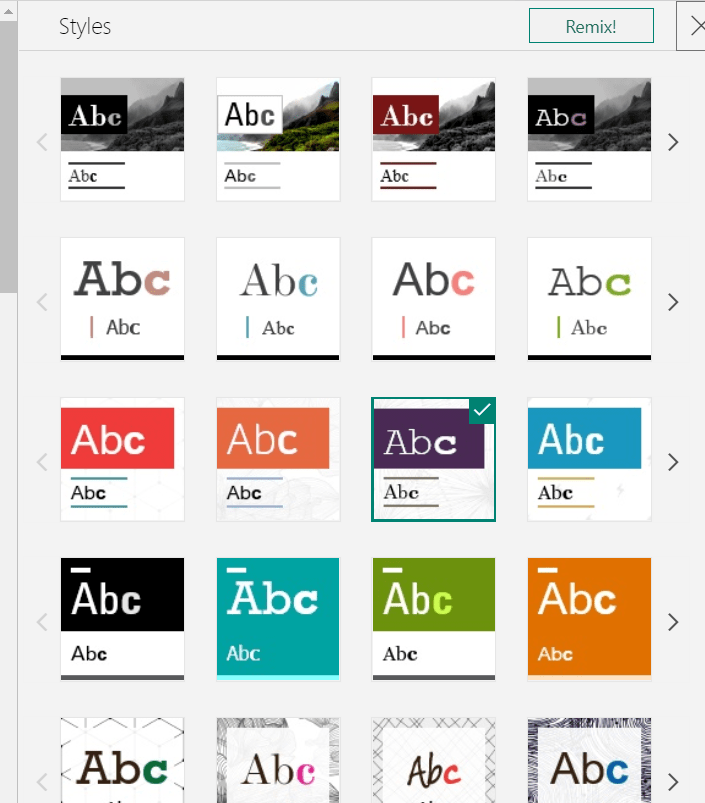
Design is for you to see how your presentation looks once you’ve added some tasks, exercises, etc. It also gives you a chance to choose the background of your presentation by clicking on the Styles in the right corner and choosing from the suggested layouts.

2. Creating the presentation
Let’s dive deep into the editing itself.
As mentioned above, the first thing you see when creating a new Sway is the tab below. First things first, you’ll need to add a title to your SWAY. In our case, it’s UNIT 1.
Below, when you hit the + icon, you’ll see several icons.
- Heading — creates a new section. It can be the number of the task, the title of the activity, etc.
- Text — is the box for instruction, the text looks smaller there.
- Image — speaks for itself, you can add an image from your device or from the suggested options.
- Stack — helps you create cards, slides, grids, etc.

In our case, we’ve chosen the Heading to post the number of the task — TASK 1, and below it TEXT to post the instruction. After that, we’ve chosen the Image option to upload the exercise which was screenshotted from another resource. However, we could’ve added it as a text as well by typing the sentences in the Text box. It would be visually more friendly but will take up more time.
As you can see, we can do several things with the text. We can Emphasize it to make it bold, Accent it to make it italics, add bullet points or numbers, as well as insert links from other websites.

Here is how the design of Task 1 looks.

Let’s have a look at the stack now. This is a favourite functionality, as it gives a chance to make the presentation more interactive by sweeping through the cards, creating a slideshow, etc.

To begin with, we have created a new section for Task 2 (Heading) and inserted the instruction (Text).
What you need to do first, is to choose the Stack icon and the amount of focus on the right corner. We have chosen the second one which makes the stack look bigger than the previous one.
Next, you need to choose the type of the stack you want to be working with. To do that, you need to click on Group type and choose from the menu on the right. We’ll look at 2 options, however, you can go ahead and experiment with the rest.
The stack option that we’ve chosen from the menu, gives you a chance to create a pack of cards. You can use it for questions, as an answer key, vocab revision, etc.
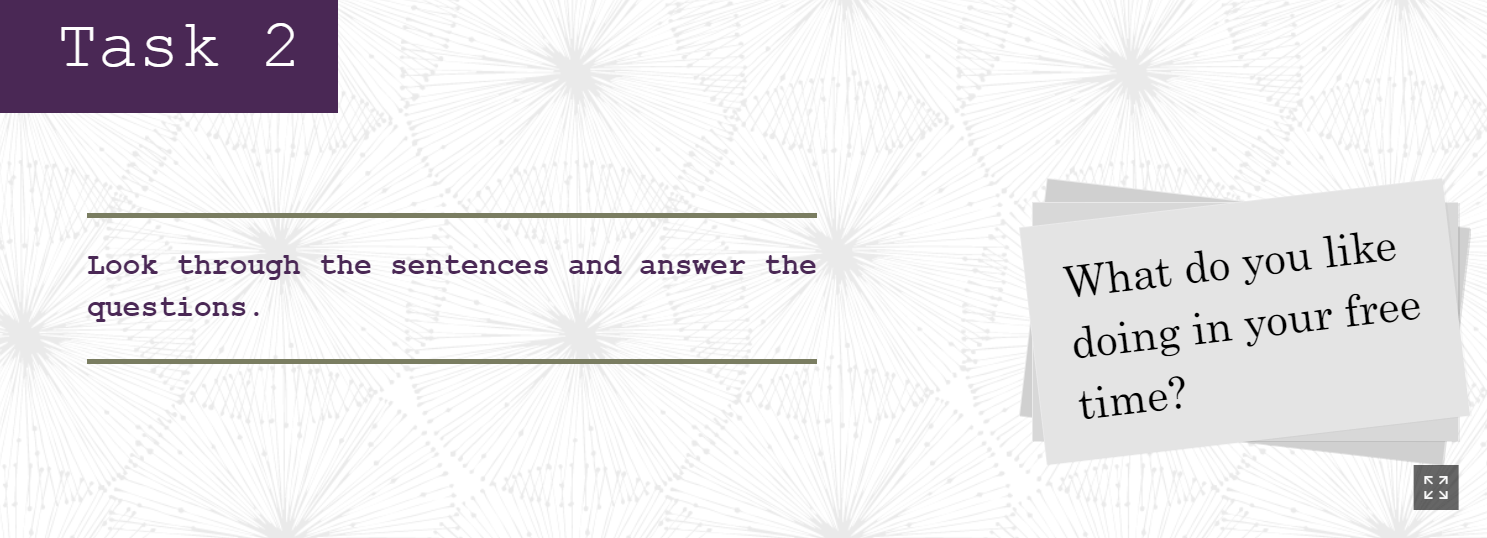
Here is how the design of Task 2 looks.
Let’s have a look at one more Stack option. It is the slideshow mode (see above) which works very nicely if you want to use pictures elicitation, pictures stories, screenshots of reading texts, etc.
You will need to choose the Stack option, click on Group style and choose the Slideshow mode from the menu on the right.

You will again need to decide on the focus of the stack. This time we’ve chose the small option as the pictures looked too big with the medium exposure, let alone the maximum one.

Here is how the design of Task 3 looks like.

There are more things to play with when designing SWAY presentations. Once you experiment and spend a couple of hours trying different functionality, you’ll see how your lesson presentations start to be formed in no time.
Here is the link to this SWAY. Have a look, experiment and let us know what you like/dislike about it.


 Вероника Аветисян
 Маргарита Аветисян


